
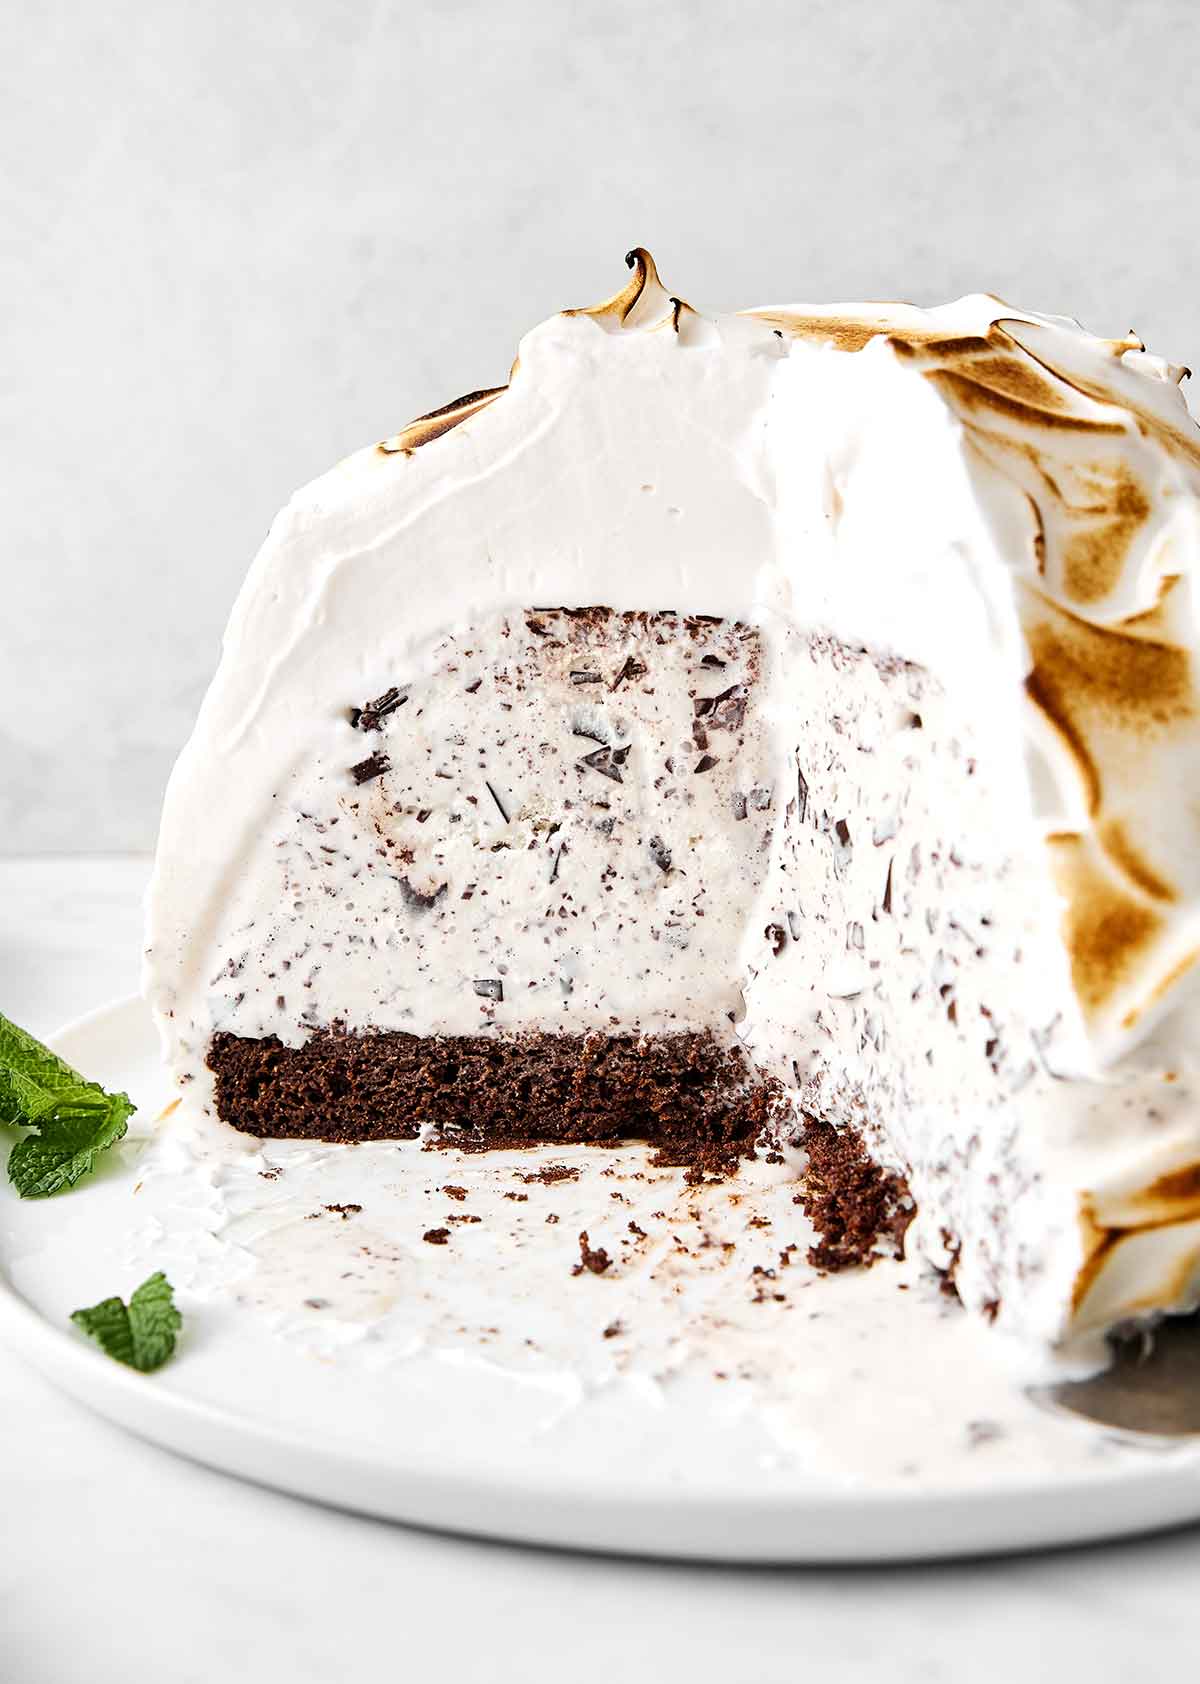
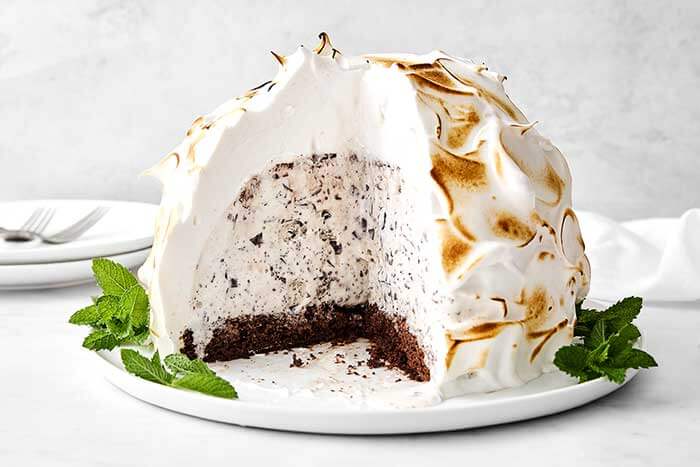
This Baked Alaska is one very impressive and delicious dessert! You’ve got a chocolate cake base that’s topped with a mound of mint chocolate chip ice cream. Then, that’s layered with a fluffy honey meringue topping and torched until golden!
This post may contain affiliate links. See my disclosure policy.
Why You’ll Love My Baked Alaska
- The mint chocolate combo is a classic. Rich chocolate cake and cool mint chocolate chip ice cream are a flavor pairing that never goes out of style. Plus, it’s nostalgic for me. More on that below!
- It’s a stunning make-ahead dessert. Yes, you can make this ahead of time! Just assemble everything in advance, then toast the meringue right before serving for beautifully toasted peaks.
- There’s no processed sugar. I’m using hot honey (rather than processed white sugar) to create an Italian meringue. And my cake layer uses coconut sugar. The ice cream layer is up to you and your personal preference.
- It’s easier than it looks. Don’t let the size or shape of this dessert intimidate you. The process is fairly straightforward, I promise!
Friends, I can’t believe I turn 50 this year! It’s a big, milestone birthday, and I felt that I needed an extra-special dessert to match the enormity of turning 50. 😂 So let me introduce you to this amazing baked Alaska!
Many of you know that I have a tradition of developing a mint chocolate dessert for my birthday every year (you can find the details on my 40th birthday recipe). And while my desserts have taken many shapes and forms, this year’s dessert is most aligned with the dessert that started this whole trend when I was 6 years old—a Baskin Robbins mint chocolate chip ice cream cake.
So you can think of this baked Alaska as essentially an elevated ice cream cake. My paleo chocolate cake forms the base, mint chocolate chip ice cream forms the mound, and instead of buttercream frosting I’ve topped it with an Italian meringue.
But the show-stopping moment comes when you toast the meringue! The torching not only creates those beautiful brown tips, but it also introduces this fun and tasty hot element, which pairs deliciously with the cold ice cream element. Have I sold you on making this yet? I sure hope so!
What Is A Baked Alaska?
This beautiful, classic dessert is a dome of ice cream that sits on a layer of cake, which is then covered in a thick layer of meringue. The cake and ice cream layer is frozen first before the meringue is added on top and placed back into the freezer. Then, it’s lightly torched to form those golden, toasty peaks.
Baked Alaska Ingredients

For the chocolate cake, you’ll need:
- Almond flour, tapioca flour, and coconut flour: This triumvirate of flours (my signature blend) achieves the perfect light and fluffy texture.
- Coconut sugar: This has always been my preferred sugar in baking, as I don’t use refined sugar. It also adds a richness to the cake layer.
- Cacao powder: While I use raw cacao powder, you can also use unsweetened cocoa powder.
- Baking soda: This adds a little rise to the cake.
- Espresso powder: Try not to skip this! It enhances the decadent chocolate flavor.
- One egg: The binder that helps create the cake batter.
- Full-fat coconut milk: My version of buttermilk in traditional cake recipes is combining coconut milk plus vinegar.
- Apple cider vinegar: The vinegar also creates a chemical reaction with the baking soda to add fluffiness to the cake.
- Coconut oil: I prefer using coconut oil, but vegetable oil works as well.
- Vanilla extract: For that extra sweet flavor!
For the ice cream, you’ll need:
- Mint chocolate chip ice cream. While you can make ice cream from scratch or use my recipe for mint chocolate chip nice cream, I also won’t tell if you use store-bought ice cream. 😉 I’m using a white, rather than green-tinted mint chocolate chip ice cream, but that’s just personal preference. And if you’re not a fan of mint chip, you can use any flavor ice cream you’d like!
Lastly, for the Italian meringue, you’ll need:
- Egg whites: The main ingredient that’s whipped into that fluffy texture.
- Honey: While most meringues use white sugar, I don’t use processed sugar in my recipes. So I’ve swapped in hot honey for a unique spin on Italian meringue! Of course, you can always make a classic Italian meringue as well.
- Cream of tartar: This helps to stabilize the meringue.
- Vanilla extract: More deliciously sweet vanilla flavor!
How To Make Baked Alaska
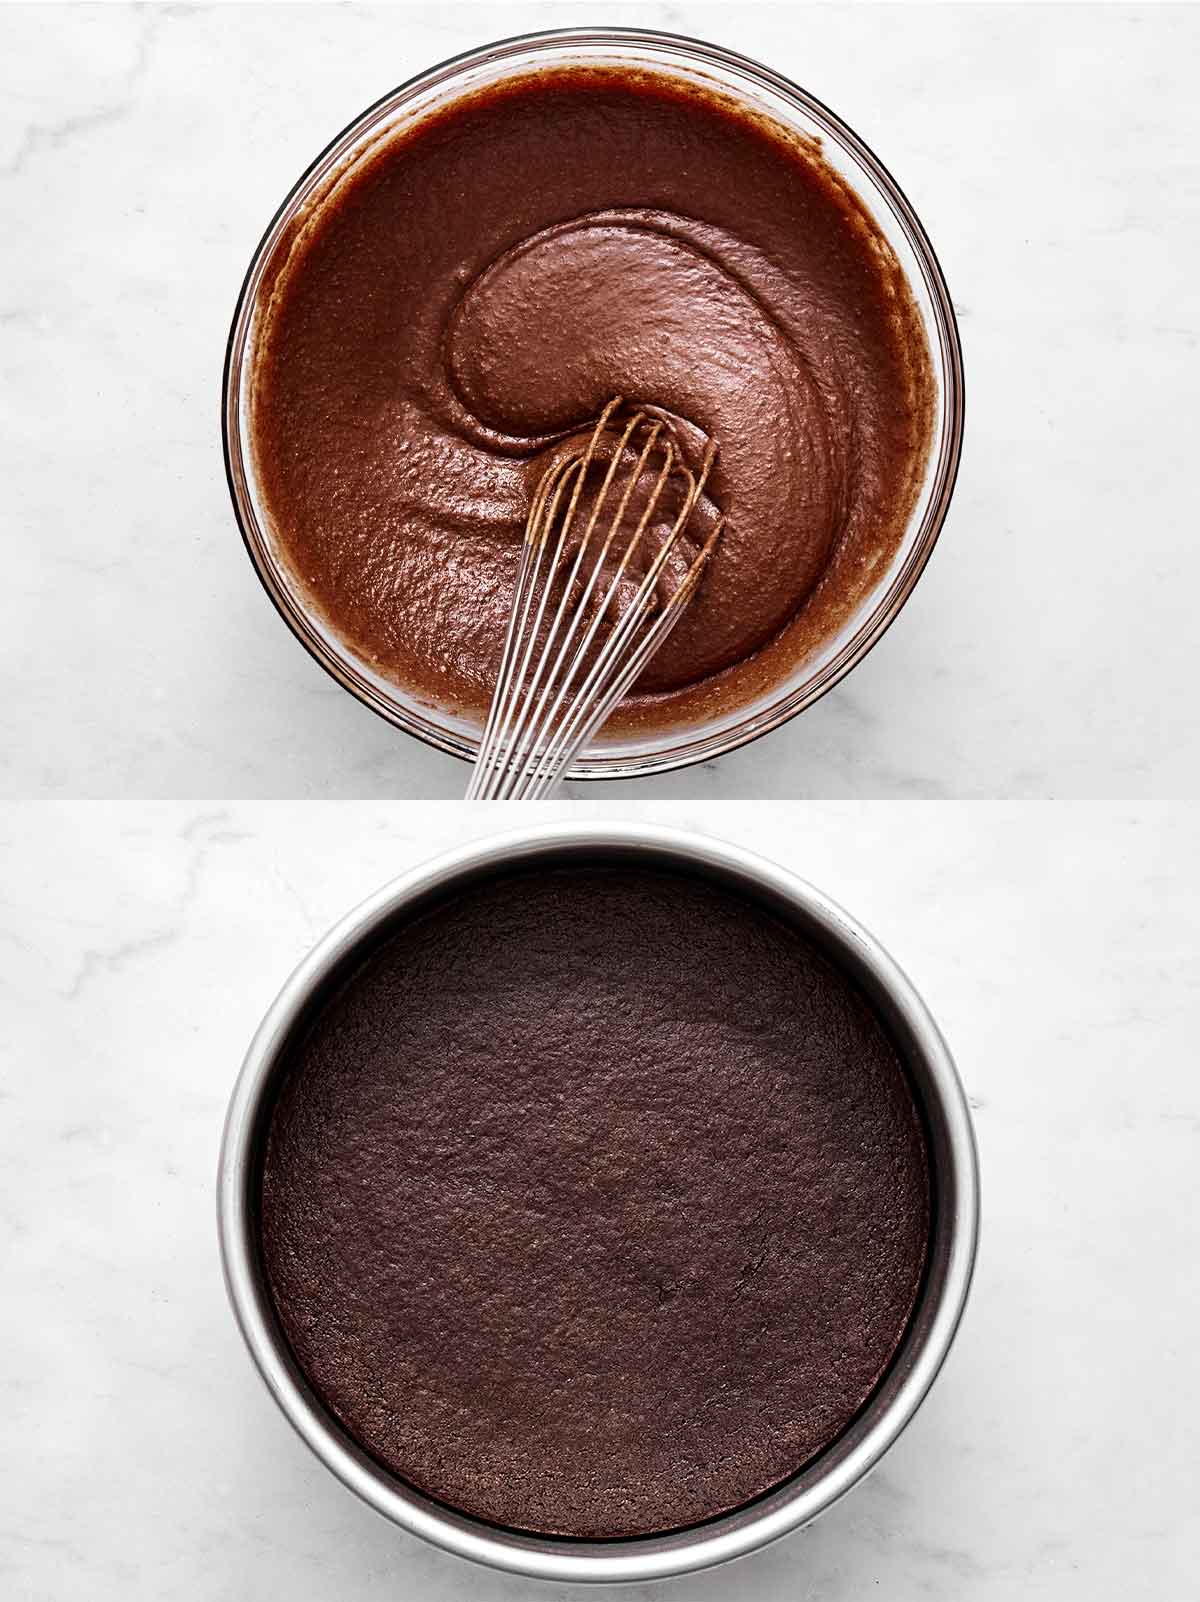
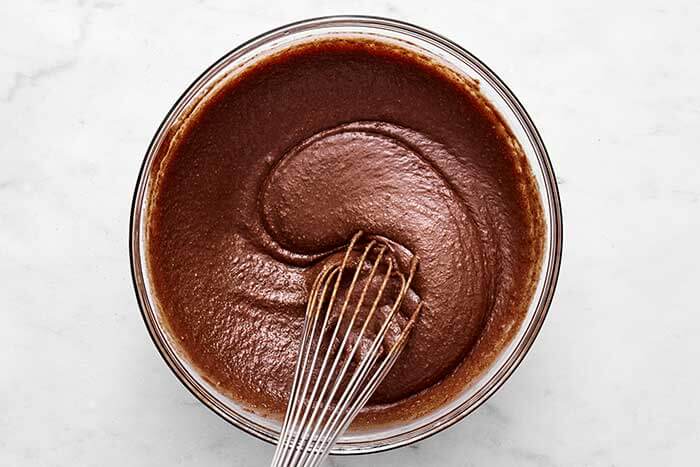
You’ll start by whisking the dry ingredients and wet ingredients in two separate bowls. Then, pour the wet mixture into the dry and whisk for a few minutes until a smooth batter is formed.
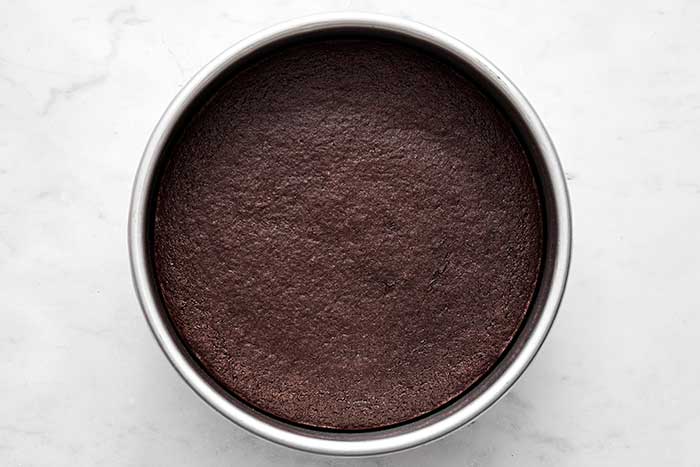
Pour the batter into a parchment-lined, 8-inch pan, and bake for 13 to 15 minutes. To ensure it’s cooked through, I always like to do the toothpick test! Once it’s done, let it cool to room temperature.
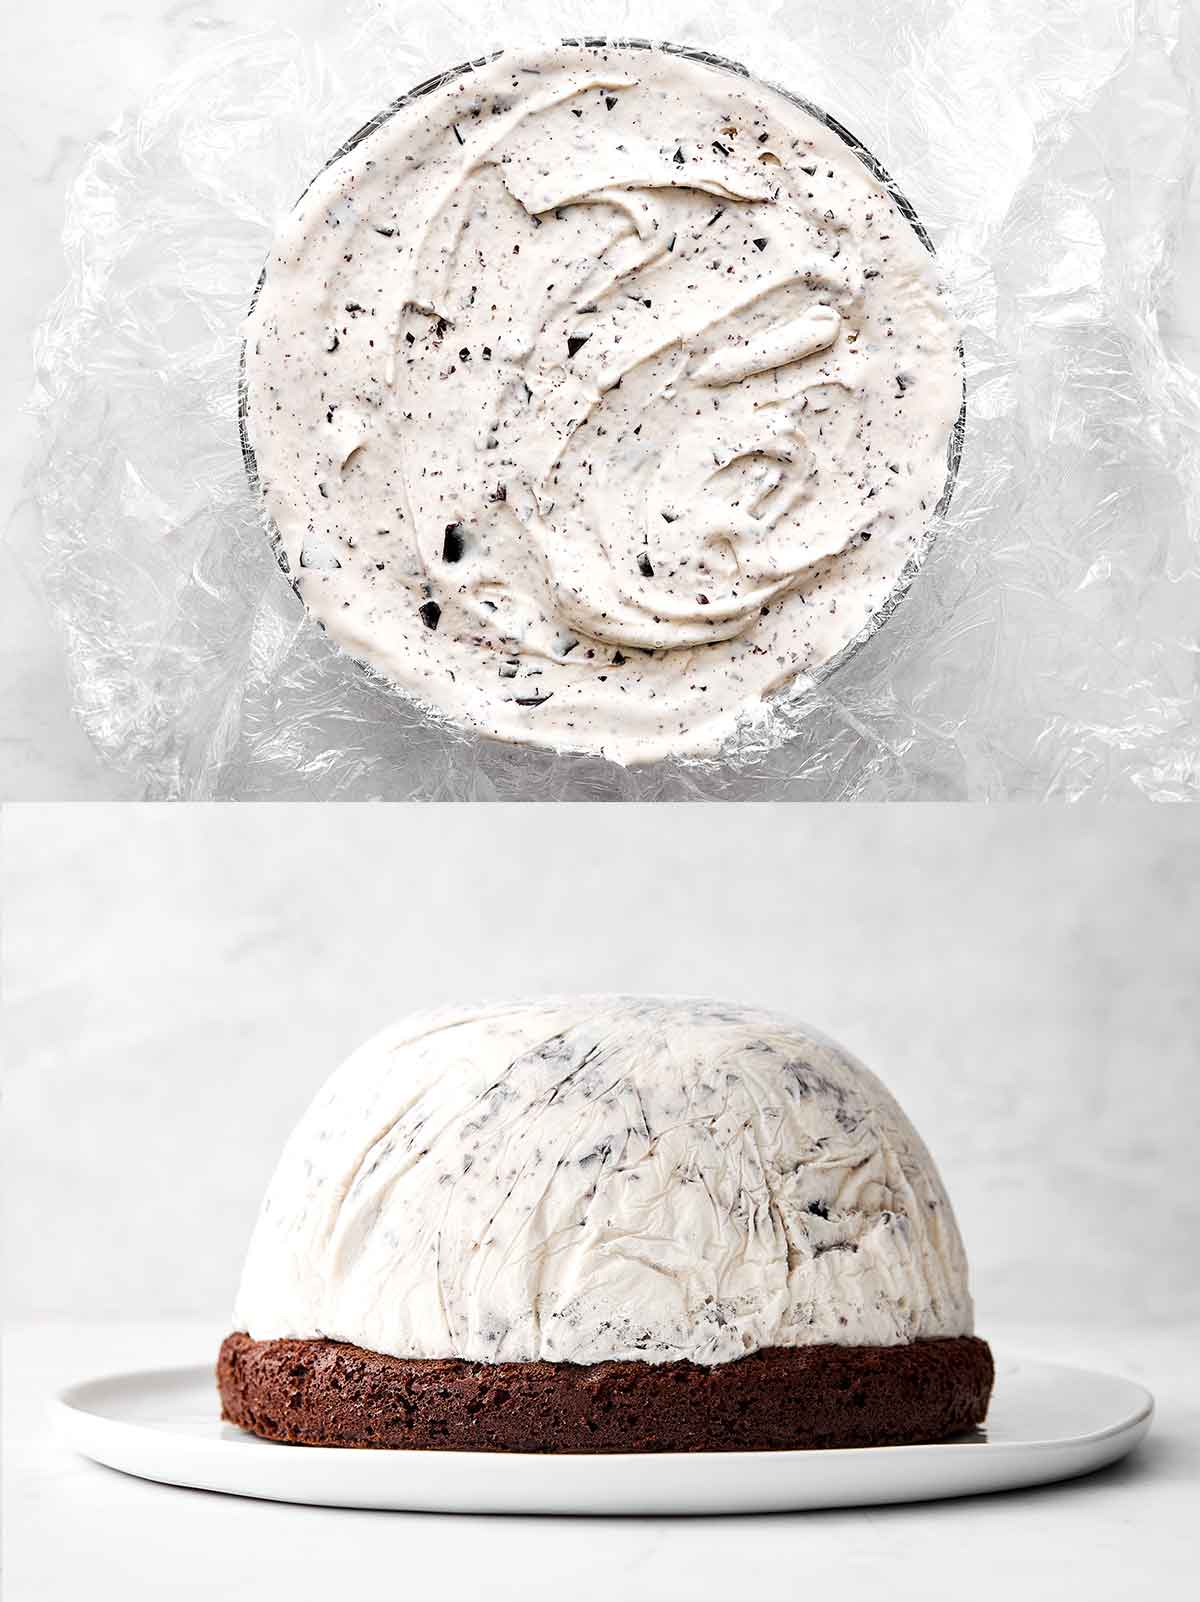
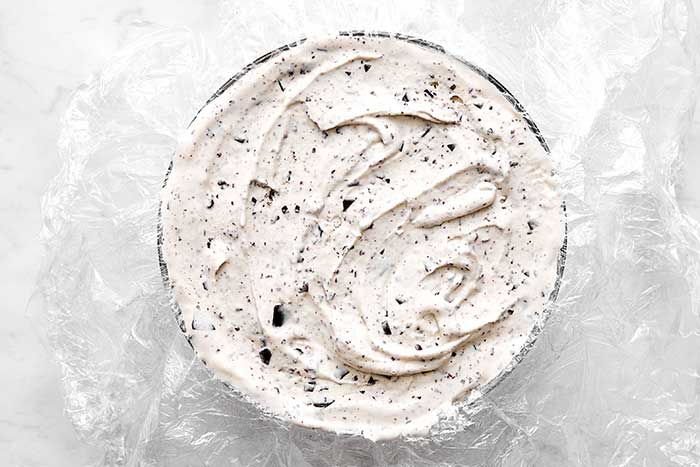
Next comes the large ice cream dome! To form this, you’ll line an 8-inch bowl with several layers of plastic wrap, leaving enough overhang to lift out the ice cream later. Spread the softened ice cream into the bowl, pressing it into an even dome. Then pop it in the freezer for at least 4 hours or overnight, until it’s completely firm.
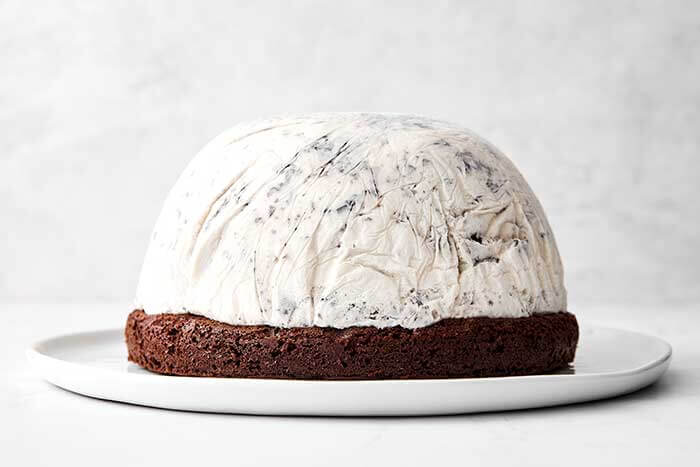
Place the cooled chocolate cake on a freezer-safe serving plate at least 10 inches wide (I prefer 11 inches so there’s more room to slice). Remove the frozen ice cream dome from the bowl and invert it on top of the cake. Return the assembled cake to the freezer for at least 1 hour, or until it’s very firm.
Make the cake and ice cream ahead! I highly recommend making the cake layer and ice cream layer a day in advance. Then, it’s easy to continue with the steps below right before serving!

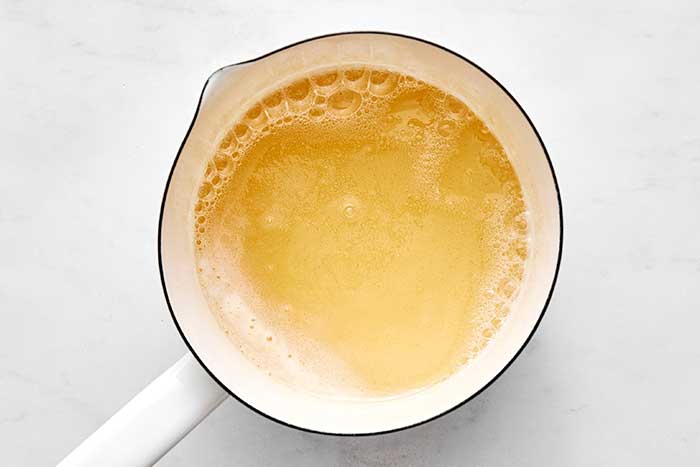
Now, it’s time for the meringue layer. Boil the honey until it reaches 240°F on an instant-read or candy thermometer. While waiting, I’ll start beating the egg whites in a separate bowl.
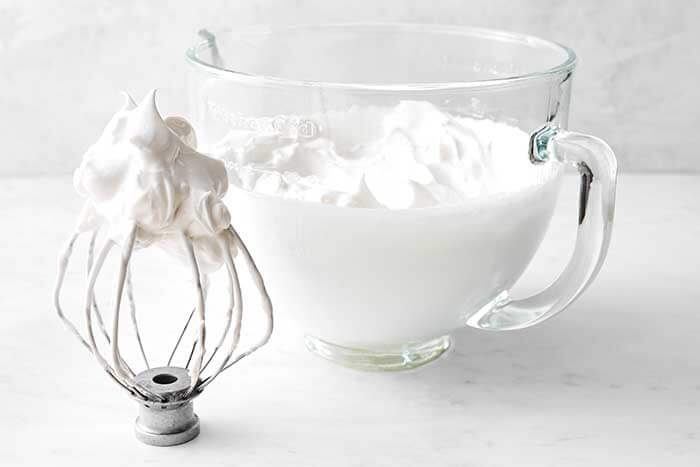
In the bowl of a stand mixer, add the egg whites and beat on medium speed until stiff peaks form (I use speed 6 out of 10 on my stand mixer). Once the honey is boiling, remove it from the heat and slowly drizzle it into the egg whites while mixing at a medium speed. After it’s fully incorporated, continue mixing for 5 to 6 minutes on medium speed, or until the meringue can hold its peaks. Then, add the cream of tartar and vanilla extract and mix together.

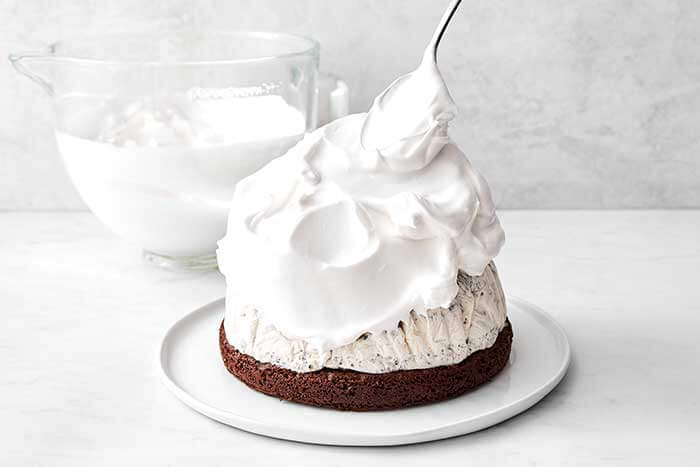
We’re ready to frost! Remove the frozen cake from the freezer and quickly spread the meringue all over the entire cake with a fairly thick layer. Make sure it completely covers both the ice cream and cake to seal it. Then, place it back in the freezer for another 30 to 60 minutes to allow the meringue to firm up.
How to get that fancy texture? I like to use the back of a large spoon to create those pretty swirls and peaks in the meringue.

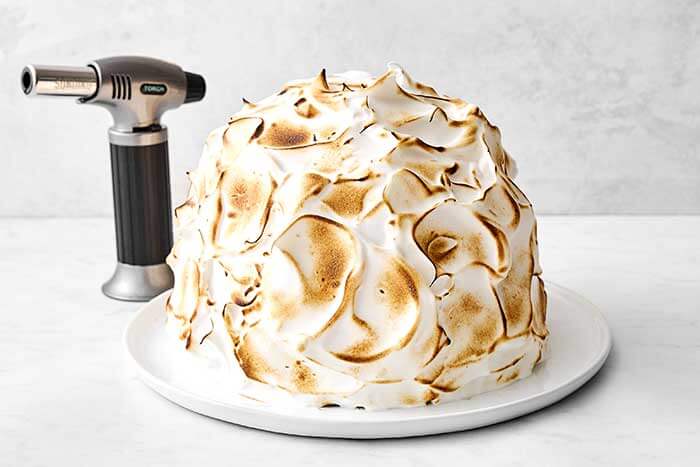
Lastly, torch the meringue for the final touch! Right before serving, use a kitchen torch to lightly toast the meringue until golden brown all over. Ta-da, you’re all done! Now, just slice and serve.
Lisa’s Success Tips
- Freeze the cake and ice cream until rock solid. The firmer it is, the easier it is to frost.
- Completely seal the dessert. Make sure the meringue touches the serving plate all around the base. This helps to insulate the ice cream and prevent melting.
- Work quickly when frosting. You don’t want the ice cream staring to melt because that makes it harder to frost. If that does happen, just pop it back in the freezer for 15 to 30 minutes.
- Don’t skip refreezing after frosting. This helps the meringue to set, keeps the ice cream extra cold, and makes the dessert easier to toast without melting.
- Torch lightly. The honeyed meringue is more likely to brown than a traditional meringue, so torch lightly and slightly further away.
- Slice with a sharp knife dipped in hot water. This will cut through the ice cream easier and give you a beautiful slice. Also, make sure to have the dessert on a sturdy surface as cutting through the frozen cake layer does take a little extra force.
How To Store Baked Alaska
Since I made this twice during recipe testing, I had plenty of leftovers to store away. 😂 I just sliced it up and stored it in airtight storage containers. It was still delicious weeks later!

More Mint Chocolate Desserts
I’ve got plenty more mint chocolate desserts below from my previous birthday recipes. But, I’d love more suggestions on what I should make for my birthday next year! Let me know in the comment box below.
- Mint Chocolate Mousse Cake (2025 birthday)
- Mint Chocolate Chip Nice Cream (2024 birthday)
- Mint Chocolate Chip Mug Cake (2023 birthday)
- Gluten-Free Thin Mint Cookies (2022 birthday)
- Mint Chocolate Energy Balls (2021 birthday)
- Mint Chocolate Vegan Cheesecake (2020 birthday)
- Peppermint Truffles (2019 birthday)
- Mint Double Chocolate Chip Cookies (2018 birthday)
- Chocolate Peppermint Slice (2017 birthday)
- Mini Skillet Brownies with Mint Chocolate Chip Ice Cream (2016 birthday)
If you try this Baked Alaska recipe, let me know how it turns out in the comments below! Your review will help other readers in the community. And if you’re looking for more healthy food inspiration, join my free newsletter here.

Description
Equipment
Ingredients
For the chocolate cake
- ¾ cup almond flour
- ¼ cup tapioca flour
- 1 tablespoon coconut flour
- ½ cup coconut sugar
- ⅓ cup cacao powder
- ½ teaspoon baking soda
- ¼ teaspoon espresso powder
- ¼ teaspoon kosher salt
- 1 large egg
- ⅓ cup full-fat coconut milk (or dairy milk)
- ⅓ cup water
- 2 tablespoons coconut oil
- 1 teaspoon apple cider vinegar
- 1 teaspoon vanilla extract
For the ice cream
- 2 quarts mint chocolate chip ice cream, slightly softened
For the meringue
- 8 large egg whites, room temperature
- ¾ cup honey, neutral or light-flavored
- 1 teaspoon cream of tartar
- 1 teaspoon vanilla extract
Instructions
To make the cake layer
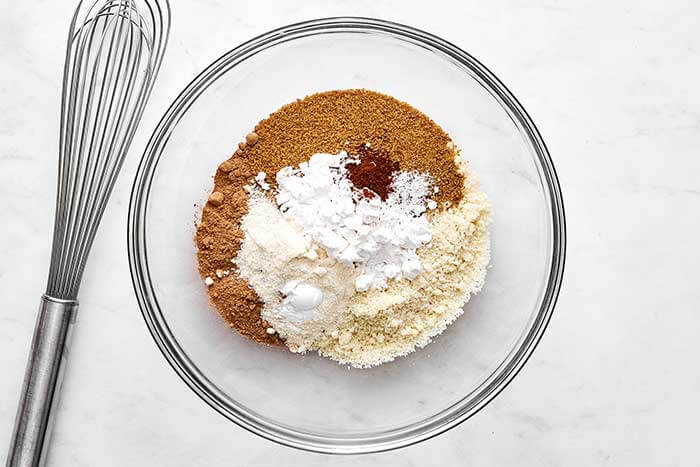
- Combine the dry ingredients. Preheat the oven to 350°F (175°C). Grease and line the bottom of an 8-inch pan with parchment paper. To a mixing bowl, add the almond flour, tapioca flour, coconut flour, coconut sugar, cacao powder, baking soda, espresso powder and salt. Whisk together.

- Mix with wet ingredients. To a separate mixing bowl, add the egg, milk, water, coconut oil, vinegar, vanilla extract. Whisk together, then pour the wet ingredients into the dry and whisk for 1 to 2 minutes, to create the cake batter.
- Bake the cake. Pour the batter into the pan and cook for 13 to 15 minutes, until a toothpick comes out clean. Let cool to room temperature.
To make the ice cream layer
- Make the ice cream dome. Line an 8-inch bowl with several layers of plastic wrap, leaving enough overhang to lift out the ice cream later. Spread the softened ice cream into the bowl, pressing it into an even dome. Freeze until completely firm, at least 4 hours or overnight.
- Freeze the cake and ice cream. Place the cooled chocolate cake on a freezer-safe serving plate at least 10-inches wide (I prefer 11-inches). Remove the frozen ice cream dome from the bowl and place it on top of the cake. Return the assembled cake to the freezer for at least 1 hour, or until very firm.
To make the meringue layer
- Boil the honey. Add the honey to a small pot and bring to a boil with it lightly frothing. It should reach 240°F on an instant read or candy thermometer. While waiting, start beating the egg whites.
- Make the meringue. In the bowl of a stand mixer, add the egg whites. Beat on medium speed until stiff peaks form (I use speed 6 out of 10 on my stand mixer). Once the honey is boiling, remove it from the heat. Very slowly (over 2 to 3 minutes) drizzle it into the egg whites while mixing at a medium speed. After it's fully incorporated, continue mixing for 5 to 6 minutes on medium speed, or until the meringue is holding it's peaks. (Note: you can increase the speed to 8 out of 10 if it's not holding peaks after 5 minutes). Add the cream of tartar and vanilla extract and mix until just combined.
- Frost the baked Alaska. Remove the frozen cake from the freezer. Working quickly, spread the meringue all over the entire cake, completely covering both the ice cream and cake to seal it. It should be a fairly thick layer, about 1 to 2 inches thick. Use the back of a spoon or the spatula to create swirls and peaks. Place it back in the freezer for another 30 to 60 minutes to allow the meringue to firm up.
To toast and serve
- Toast the meringue. Using a kitchen torch, lightly toast the meringue until golden and brown all over.
- Serve. Slice immediately with a sharp knife dipped in hot water and wiped dry between cuts.
Lisa’s Tips
- Storage: Just slice it up and store it in an airtight container in the fridge for up to 2 weeks!
Nutrition
©Downshiftology. Content and photographs are copyright protected. Sharing of this recipe is both encouraged and appreciated. Copying and/or pasting full recipes to any social media is strictly prohibited.

It’s Time To Celebrate My 50’s!!!
When I was in my 20’s I thought 50 year olds were SO old. And now I’m one of them. 🤣 My mom always said you’ll never feel the age you’re at, you’ll always feel much younger. And as usual, she’s right yet again!
But in all seriousness, I have so much gratitude going into my 50’s—for my health, my friends and family, and all the life experiences I know are still ahead. Thank you to this wonderful Downshifter community for being a part of that journey as well! ❤️


