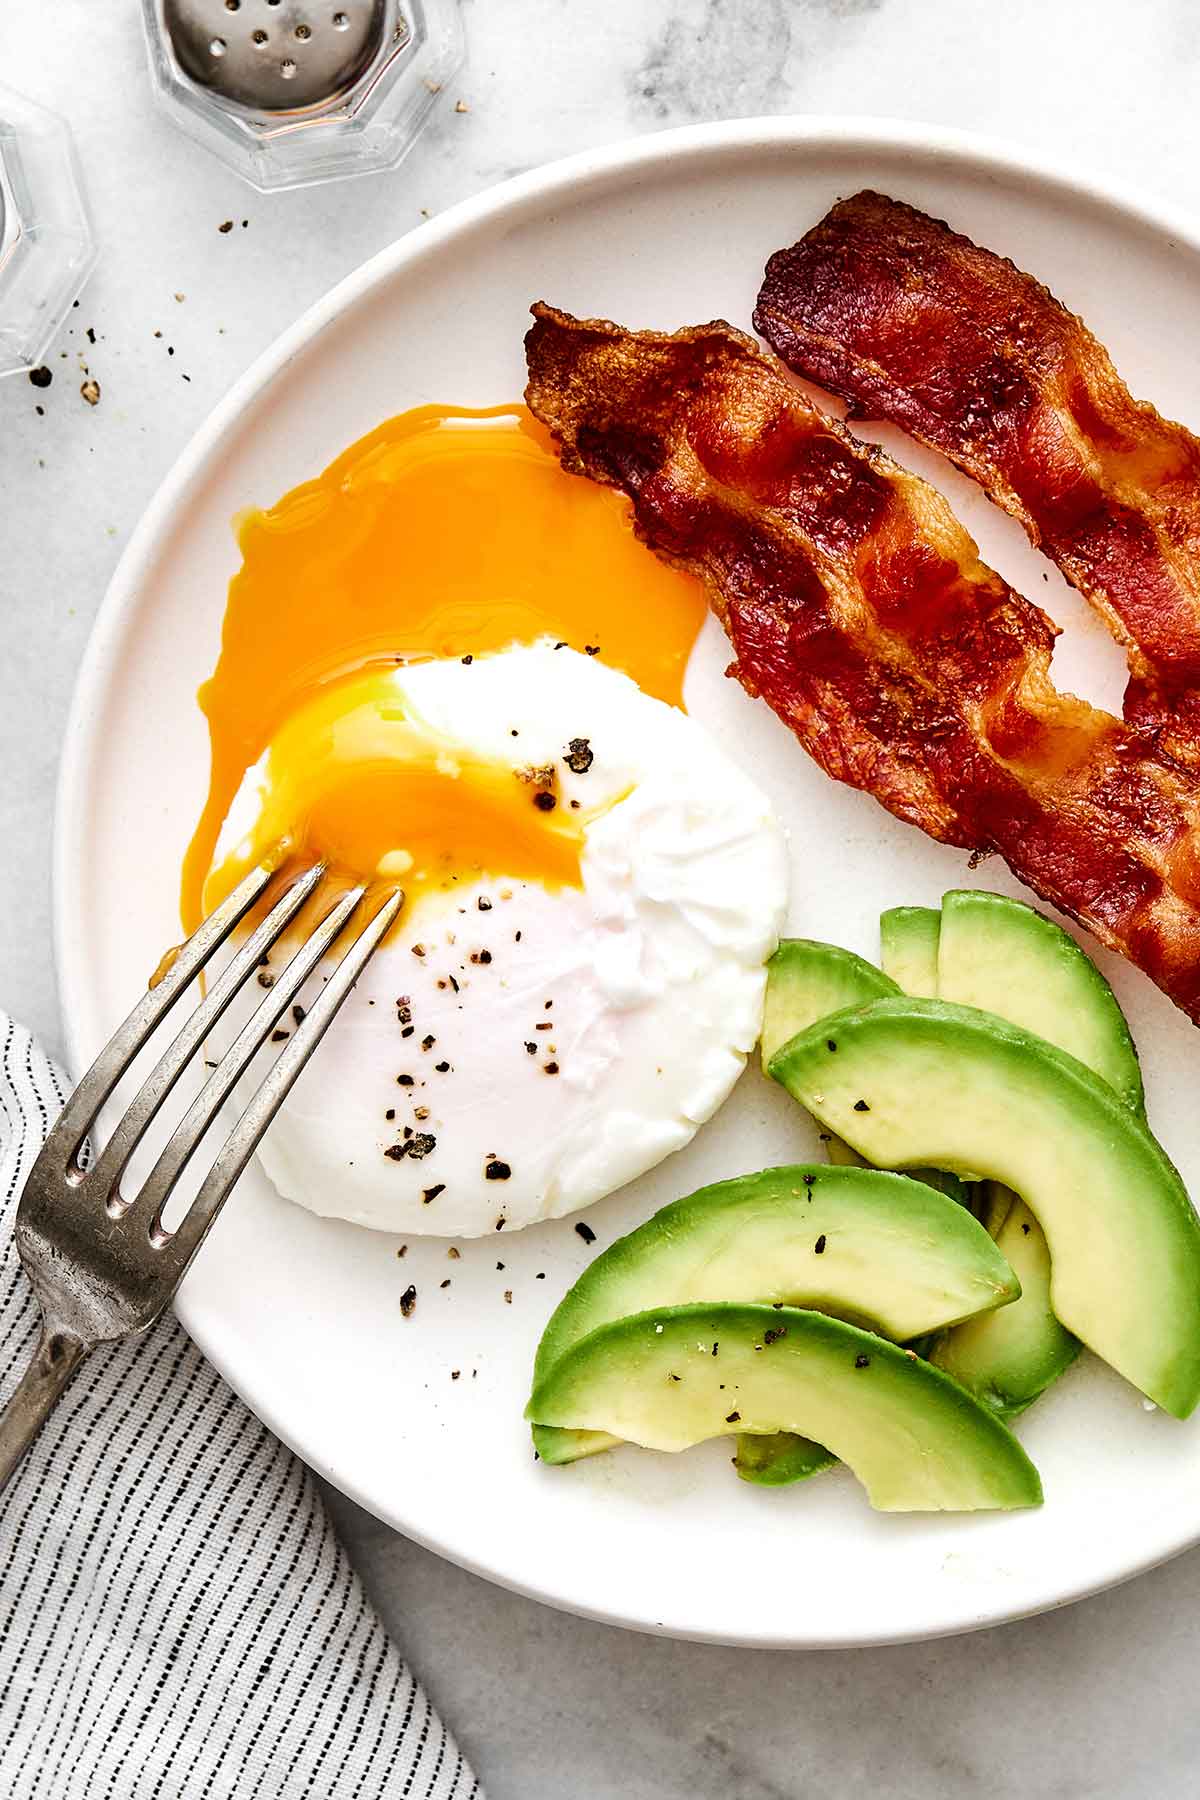
Poached eggs are a beautiful thing. The whites are just firm enough on the outside to contain an oozy, golden yolk in a round little egg package. And with a few tips, you too can learn how to poach an egg perfectly every time!

Why You’ll Love These Poached Eggs
Poached eggs are one of those things we order all the time at restaurants, but rarely make at home. Why? I think most would say that it’s difficult to get that perfect, spherical shape without lots of crazy white wispies. But here’s the thing—poaching is actually one of the healthiest ways to cook eggs. So today I’ll share with you a few tips to make the perfect poached egg. I’ve tested every method under the sun (vinegar, salt, swirling vortex, etc) with mixed results. So I’ll share with you the tried-and-true method that works every time! Here’s why you’ll love my poached eggs:
- They’re easier to make than you think. No fancy tools or chef skills are required. And I’ll walk you through the process in my video below, which has been viewed more than 21 million times!
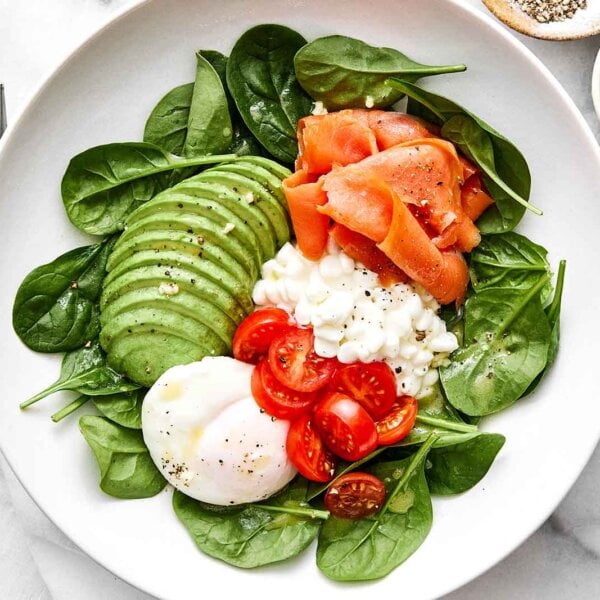
- They instantly elevate any meal. From avocado toast to salads and protein bowls, everything tastes and feels a little more special with an oozy poached egg.
- You can make them ahead of time. Yes, really! They’ll stay good for up to 2 days in the fridge.
How to Make Poached Eggs (Perfectly)

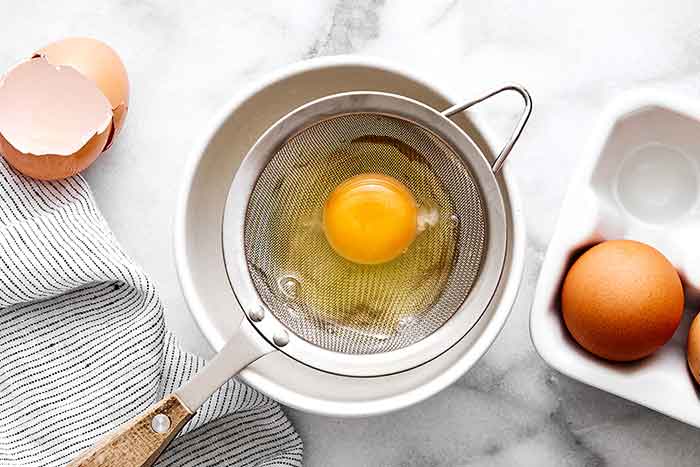
First, crack the egg. Bring a large pot of water to a boil, then reduce the heat to low (or turn it off completely). Crack an egg into a fine-mesh sieve set over a small bowl to strain off the loose, liquidy whites.

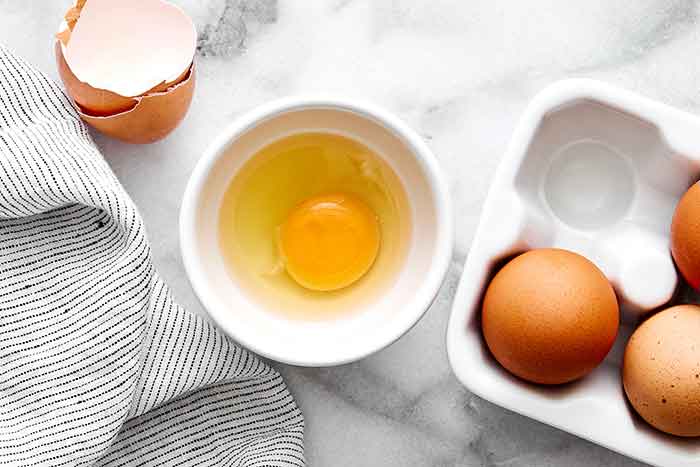
Second, transfer the egg to a small ramekin or bowl.

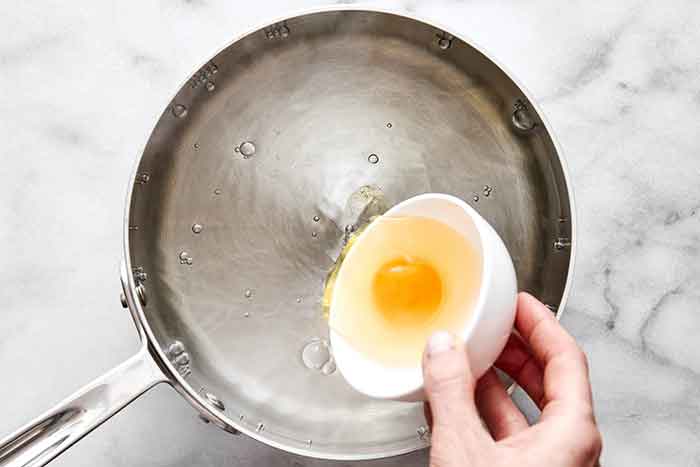
Third, create a vortex. Add 1 tablespoon of light-colored vinegar to the pot and gently stir to create a vortex. Carefully pour the egg into the center of the vortex and set a timer for 3 minutes.

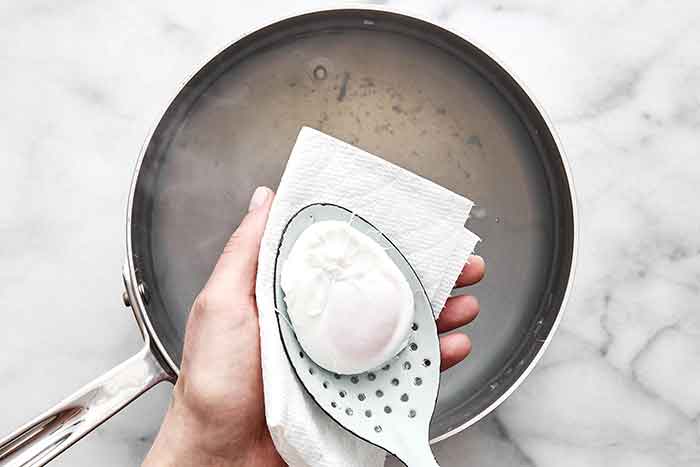
Lastly, remove the egg. Use a slotted spoon to remove the egg and dab it with a paper towel to remove excess water. Then, enjoy it right away for breakfast or with your favorite meals!
How Long Do You Poach Eggs?
For a firm white and runny yolk, you’ll want to poach the eggs for 3 to 4 minutes. I personally love a 3-minute poached egg. And if you plan to poach a batch of eggs ahead of time and reheat later, just keep in mind that reheating may firm up the eggs a little more as well. It’s a small detail, but good to know if you’re aiming for that perfect yolk!
Tips That Do (and Don’t) Work
- Salt: I found that adding salt to the water actually created more white wispies. Salt increases the density of the water, which makes more of the egg white float and splay out. In other words, it creates a not-so-pretty poached egg. Verdict: Don’t do it.
- Vinegar: I was initially dead set against adding vinegar to my water, as I didn’t want my eggs to taste like vinegar. As it turns out, you have to add quite a bit of vinegar to have any vinegar taste transfer to the egg. I found that adding one tablespoon of a light colored vinegar didn’t flavor the egg, but it did help keep the egg white together. Verdict: Optional, but I do it.
- Swirling a Vortex: We’ve all heard that the best method for poached eggs is to drop them in a swirling vortex of water, right? Well, this is true. This does help to create a more spherical shape as the egg white wraps around itself. But here’s the reality. If you’re only cooking one poached egg, it’s a great method. If you’re cooking more than one poached egg, don’t fret about the vortex. Your egg(s) may not be quite as spherical, but you can cook several simultaneously in a large pan, and they’ll still taste darn good. Verdict: Yes, for one egg. No, for more than one egg.
- Fine Mesh Sieve: This is the one tip that consistently produced the best poached egg. When you crack an egg, you’ll notice that there’s a firmer white and a more liquidy white. Well, that liquidy white is what creates all those white wispies. So add the egg to a fine mesh sieve/strainer and the thinner, more liquid white is removed, leaving only the firmer white which will envelop the yolk. Verdict: Do it.
- Ramekin: Most say to crack the egg first into a ramekin, then pour the egg into the water. And I’d have to agree. Using a ramekin ensures that your egg is: 1) properly cracked with an unbroken yolk, 2) there’s no shell in the egg, and 3) you can more easily pour the egg in one swift move. Now, combine this method with the fine mesh sieve and you’ve got a winning combo. Verdict: Do it.
- Deep Pot of Water: After trying both a regular pot of water (4 inches deep) and a large pan filled with water (2 inches deep), I will say that the deeper pot produced a more classical spherical or teardrop shape. This is because as the egg falls in the water, the yolk sinks first and the white trails behind. You can still make poached eggs in a more shallow pot, but the shape will be flatter, similar to a fried egg. Verdict: Use a pot with at least 4 inches of water for that classic shape.

Fresh Eggs Are Best
There’s one tip that can’t be overlooked, and that’s using the freshest eggs possible. This truly is the #1 most important factor in determining the success of your poached eggs. Fresh eggs have firmer whites, less liquidy whites, and just hold their spherical shape better.
Ideally, this would mean buying fresh eggs from a farm the morning you plan to poach them. But let’s be real, most of us aren’t doing this. If you follow the tips above though, you’ll still get great results with eggs you already have on hand. And if your eggs are on the older side ( the ones with extra runny whites), save those for soft-boiled or hard-boiled eggs instead. They’re perfect for that!
Can You Poach Eggs Ahead of Time?
Absolutely! After the eggs have finished poaching, just place them in an ice water bath and store them in the fridge for up to 2 days. When you’d like to eat them, just add some hot water to a small bowl or cup and add the poached egg until it’s warmed up (about 20 to 30 seconds).
My Best Poached Egg Recipes
- Turkish Eggs: Such a delicious breakfast!
- Healthy Eggs Benedict: With the best hollandaise sauce.
- Asparagus with Poached Egg and Prosciutto: A simple, classic combo.
- Salad Lyonnaise: The perfect breakfast salad!
- Poached Egg with Truffle Salt Grilled Zucchini: A great summer breakfast.
If you try this poached egg recipe, let me know how it turns out in the comments below! Your review will help other readers in the community. And if you’re hungry for more healthy food inspiration and exclusive content, join my free newsletter here.

Description
Video
Equipment
Ingredients
- 1 large egg
- 1 to 2 tablespoons vinegar, optional
Instructions
- Crack the egg. Bring a large pot of water to a boil, then reduce the heat to low. While waiting for the water to boil, crack an egg into a small fine mesh sieve over a bowl. Swirl the egg in the sieve until all the liquidy egg whites have been removed.
- Transfer the egg to a ramekin or small bowl.
- Create vortex. Stir the vinegar into the water and create a vortex. Add the egg to the middle of the vortex and cook the egg for 3 minutes.
- Remove the egg with a slotted spoon and dab it on a paper towel to remove any excess water. Serve immediately.
Lisa’s Tips
- If making the poached eggs for meal prep or ahead of time, transfer the cooked poached eggs to an ice water bath and refrigerate for a couple of days. When ready to serve, add boiling water to a bowl, then add the cold poached egg and submerge for 20 to 30 seconds or until warmed through. Remove the poached egg with a slotted spoon, dab dry and serve immediately.
- As mentioned above, you can store poached eggs for 4 to 5 days in the fridge. Just make sure they’re in fresh, cold water in a sealed storage container.
- This is the fine mesh strainer I used in the video. It’s the perfect size as it’s small and doesn’t take up much space.
- These are the glass nesting bowls that I use all the time in my kitchen and in my videos.
Nutrition
©Downshiftology. Content and photographs are copyright protected. Sharing of this recipe is both encouraged and appreciated. Copying and/or pasting full recipes to any social media is strictly prohibited.
This recipe was originally posted July 2018, but updated to include new photos and information for your benefit!

The only way to poach a perfect egg, my first success, and forever technique!!!
Glad this recipe was a success, Mary!
Made two poached eggs following the instructions exactly (did not create a vortex per your comment), and they came out great. Thanks for sharing this way to make poached eggs.
Happy to hear your poached eggs turned out perfectly, Dinah!
Followed the recipe and tips perfectly and still turned out poorly. Was not able to save the eggs and had to toss them, disappointed.
Hi Fred – can you expand a bit on what went wrong? I’d love to try to help you!
I did this right to the instructions. The only thing I didn’t add was vinegar. This poached egg was perfect. I had poached eggs on toast with Swiss cheese and it was absolutely outstanding.
Thrilled to hear you achieved poached eggs with this recipe, Paul!
Made this & they turned out perfect!
Glad this recipe worked out perfectly, Katelyn!
OMG tasted so good
Glad this method worked out for you, Bob!
Oh my gosh I did it with your extra tips which I have never knew about. they came out perfectly spherical ! I even added the vinegar which I’ve never done and of course you cannot taste it and I also use the strainer which I have never done I can’t believe how great my eggs had turned out! I will definitely do these steps from here on out thank you!
Wonderful! I’m so glad this method worked out perfectly for you, Darlene!
I did it and it comes perfectly with these tips Lisa. Thank you.